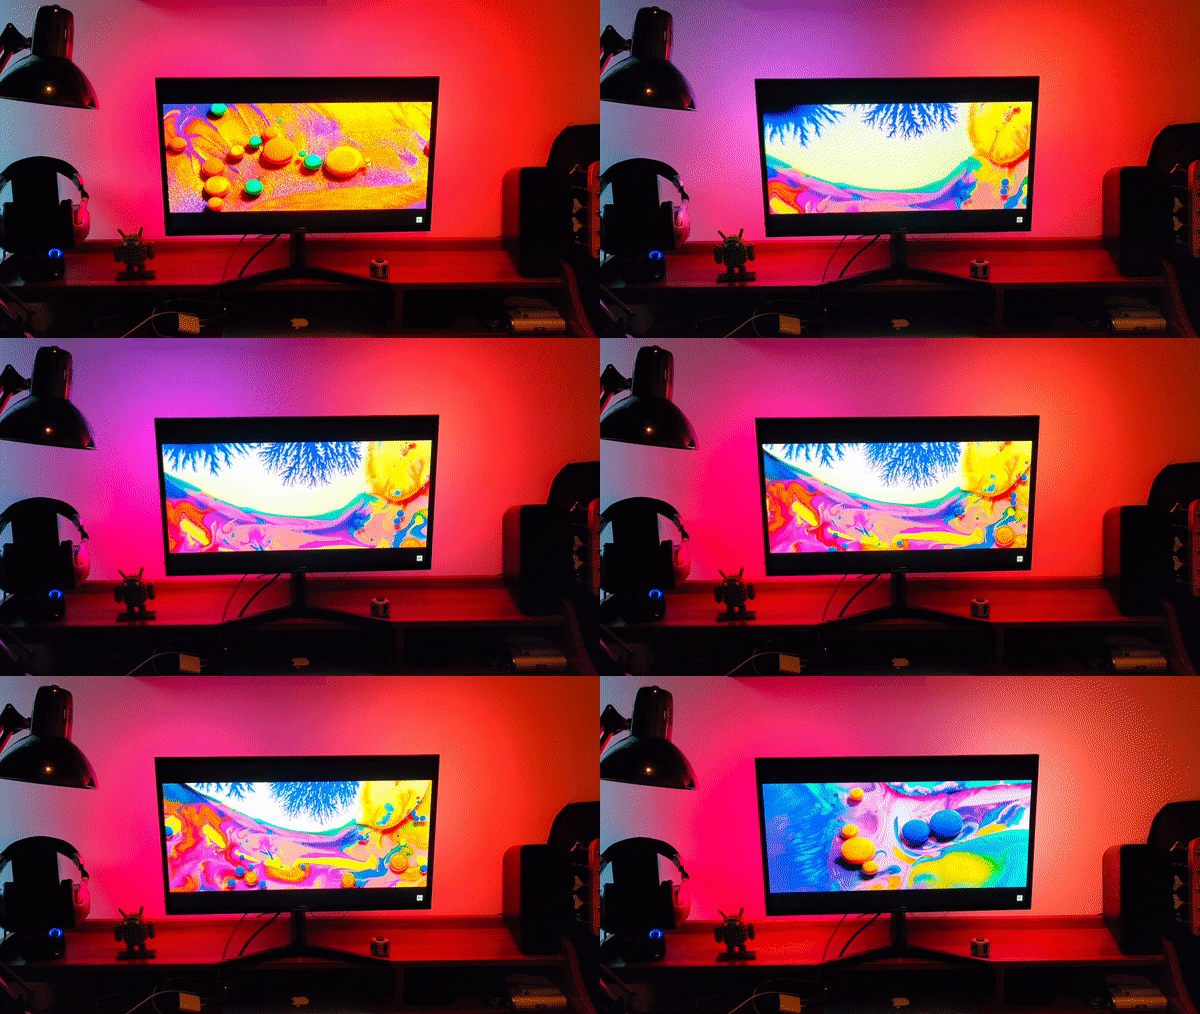
I decided my home desk needed some pimping. And what is better than slapping some fancy RGB lights on that badboy? I was sure it should be possible to make my own Ambilight on my second screen, so I got right to it.
The idea is simple. Write some code in Processing to capture the screen colours and communicate these to a connected Arduino with an LED strip.

This project was surprisingly easy, all thanks to the Adalight library. It took me less than a day since I already had all components to my disposal.

The basic components were an Arduino Uno board Processing 2 , and an LPD8806 LED strip. After a bit of fiddling with the LED’s and their placement on the monitor, I got a nice set-up of 68 LED’s. After a bit of cutting & soldering I stuck them with double-sided tape to the back of the monitor.

The software required only a few edits. First, of course I entered the correct number of LED’s and the pixels on the screen that they should adopt the color from. Second, I fine-tuned the color rending until I found a white-balance that I was happy with.
Finally I programmed a script on my macbook that automatically runs the Adalight processing sketch in the background when I plug in the Arduino.
The result is pretty awesome, right? I am still amazed by the awesome stuff that you can make with Arduino. On to the next project!

